3D Scanning and Modeling
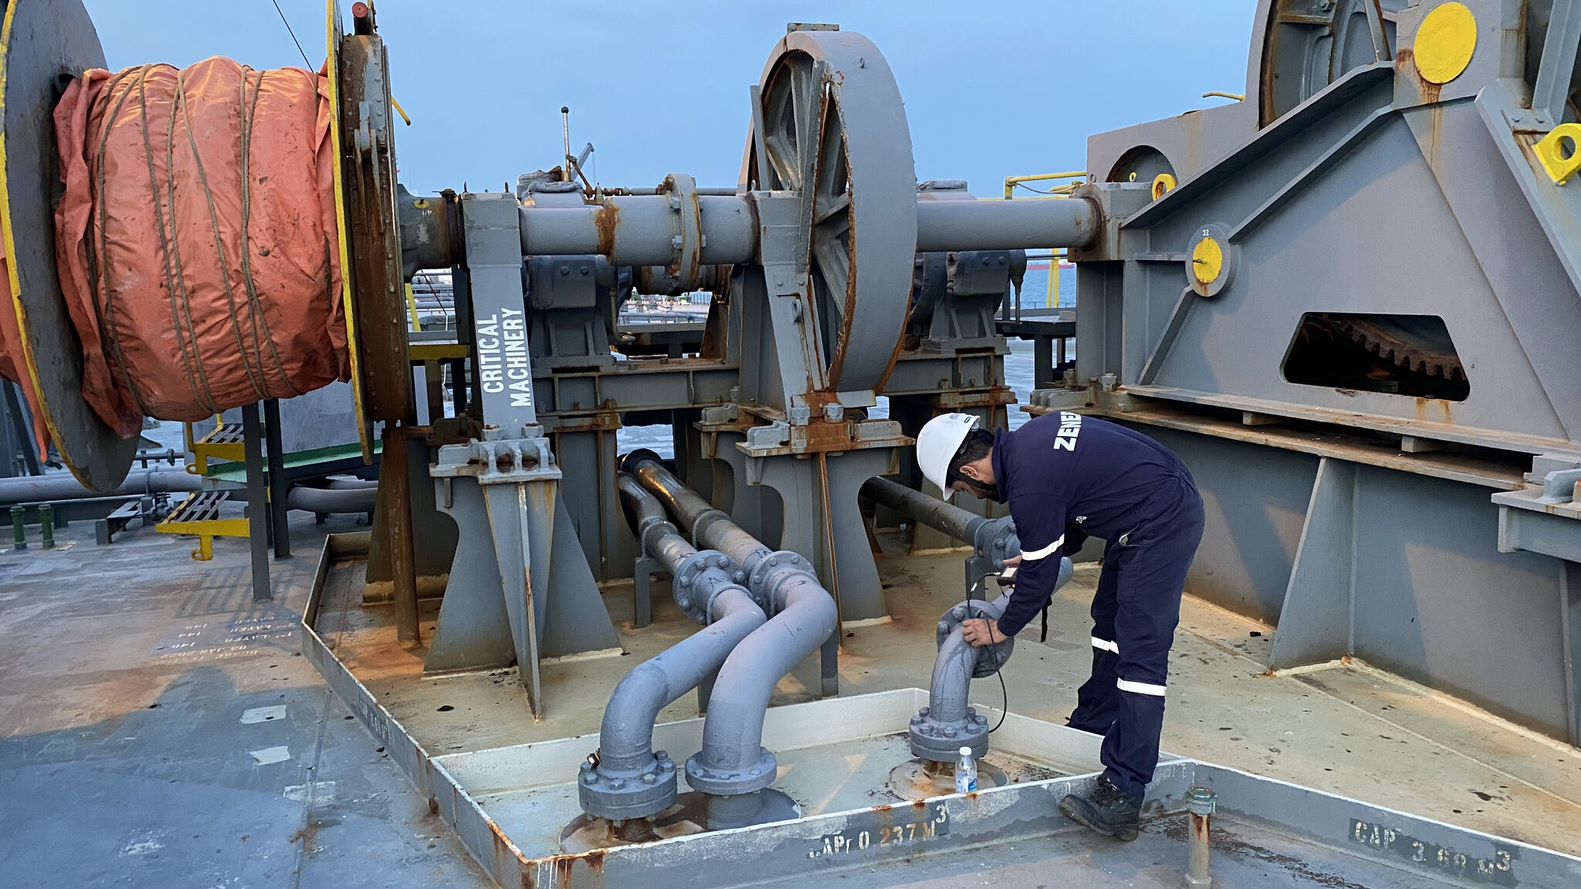
3D scanning for industrial inspections offers several advantages over traditional inspection methods. It allows for faster data capture, high accuracy, non-contact measurements, and the ability to capture complex geometries and hard-to-reach areas. It also enables better visualization, analysis, and sharing of the inspection results, facilitating more efficient decision-making processes.
Note: that specific scanning techniques, equipment, and analysis methods may vary depending on the industry, the object being inspected, and the desired outcomes.


Why use 3D Scanning?
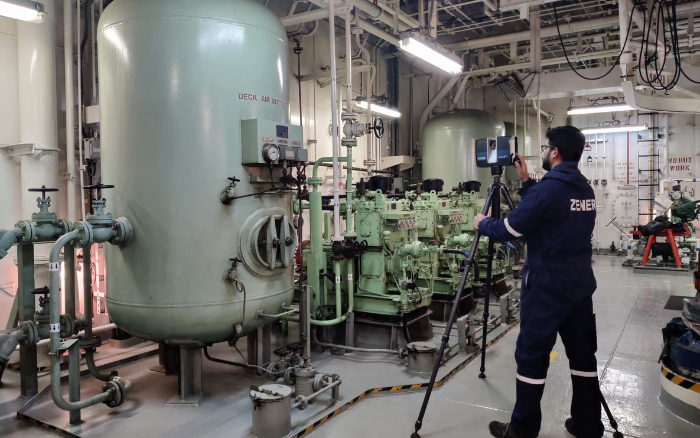
- Scanning Equipment: A 3D scanner is used to capture the physical geometry and surface characteristics of the object being inspected.
- Data Capture: The scanner emits laser beams or structured light patterns onto the object, and sensors within the scanner measure the reflected signals or the distortion of the light patterns.
- Point Cloud Generation: The collected data is processed and transformed into a point cloud, which is a collection of millions of individual points in 3D space.
- Data Processing: Once the point cloud is generated, further processing is often performed to refine and enhance the data.
- Inspection and Analysis: With the refined point cloud data, various inspection and analysis techniques can be applied.
- Reporting and Documentation: The results of the inspection are typically compiled into comprehensive reports, visualizations, and documentation.
Why Zener?
7 Laser scanners (incl Ex-Proof)
500+ completed projects
Strong engineering & 3D modeling expertise
